Winter makes me squirrelly!

squir·rel·ly

ˈskwər(ə)lē/
adjective
adjective: squirrelly
  1. relating to or resembling a squirrel.
  2. North American informal
    restless, nervous, or unpredictable
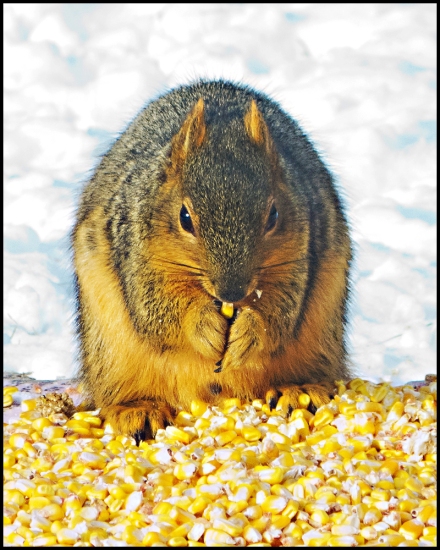
    So, what does a person do for entertainment during the harsh, Minnesota winter? Apparently,  throw some corn out in the back yard, take the screen out of a window and zoom in with a camera. I’m sure this is cheating when it comes to wildlife photography, but at least I wasn’t sitting in a recliner.
2015squirrel-1080220kppophpsh80r

Panasonic Lumix FZ 150 ISO 200 | F 5.2 | 1/250th


2015squirrel-1080220kppophpsh80rcr3

2015squirrel-1080220kppophpsh80rcr4

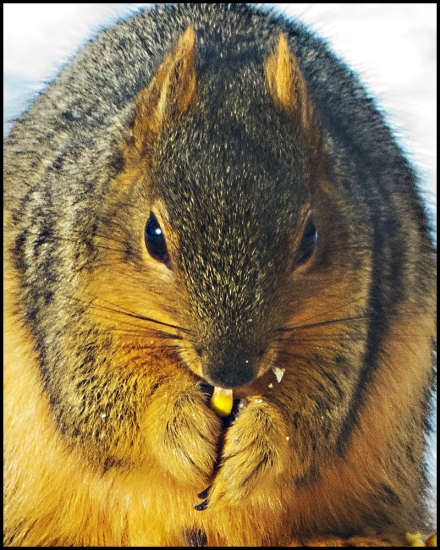
Same image, three different crops. This was taken with my small, Panasonic travel camera set at aperture priority wide open, but you can see by the settings that the aperture automatically closes somewhat when zoomed in that far. You can see why I love the optical zoom and image stabilization features of this little beauty when you consider I was about 25 feet away from the subject.

They’d be kind of cute except for being members of the rodent family.
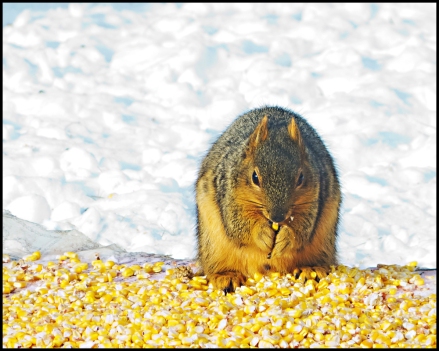


Photo Tips & Bits ~ Let it snow, let it snow, let it snow!

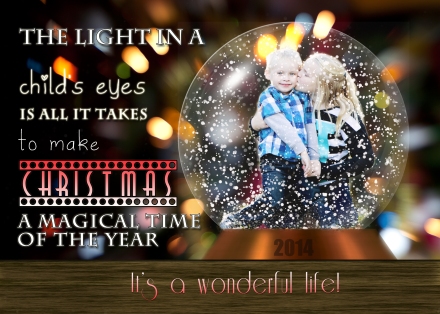
My personal Photoshop goal this fall was to create a snow globe from scratch.  Using the following tutorial for Photoshop CS5 it actually happened!  This will take some time, but is an interesting process.

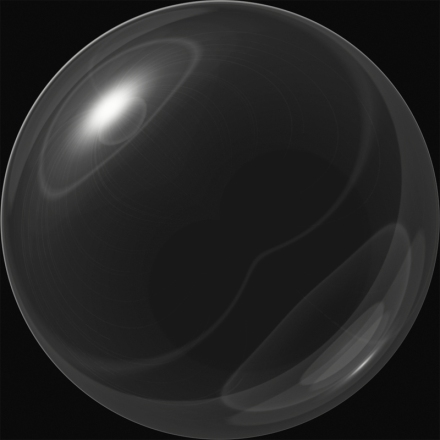
Snowglobe_TemplateThe tutorial starts with creating this bubble which gives you the 3D effect.

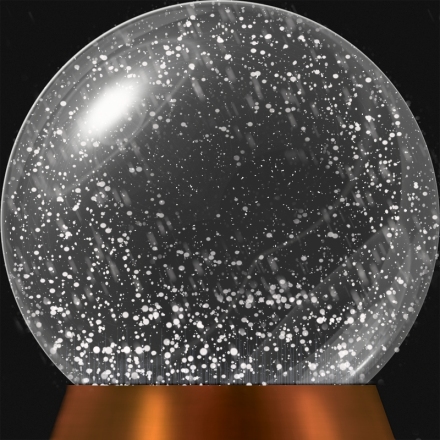
Snowglobe_Template_base_snowhenningsnowThe base is added with perspective transformation. The tutorial involves adding snow, but I have snow clip art which I added, adding a motion blur to some of the layers.  The eraser tool is used to clean up any snow outside the globe.

globecardblogfinalI drag my snow globe over to an image of my Christmas lights. (Zoomed the lens while taking the photo)

The tutorial will show you how to make the table edge at the bottom.

After using refine edge to help extract the image I want inside the globe, I drag it over to a layer under the snow layers.

Ta-Da!!  A snow globe card is created and I can check that off of my bucket list!

Using Photoshop Elements?  The following tutorial will help you through it, but I must warn you that the puppet is incredibly creepy.

It would probably be much more efficient to just buy a template, but what fun would that be? Now I can say, “I did it myself.”

Photo Tips & Bits… silhouettes

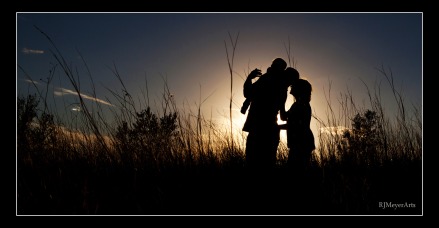
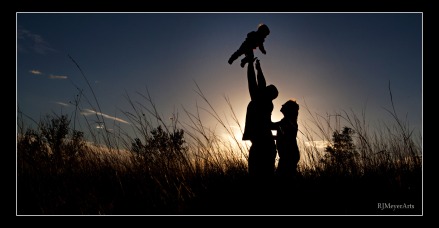
The rural prairie and its natural textures combined with the setting sun. Add a loving family that adores their one-year-old child and you have a recipe for a moment of bliss. What better place to raise a family…

F11 ~ 1/500 ~ ISO 100

F11 ~ 1/500 ~ ISO 100 ~ Canon 5D Mark 2

A silhouette can give an image the feeling of drama, flair, mystery or emotion and is exciting to capture, with a little practice.  I generally set my camera manually to control exposure, so that is easiest for me.

F11 ~ 1/500 ~ ISO 100

F11 ~ 1/500 ~ ISO 100 ~ Canon 5D Mark 2

If you aren’t comfortable shooting in manual you can try automatic, but be aware that metering systems in digital cameras are set to expose your subject so you may need to “trick” your camera into a setting to create a silhouette and be sure to shut your flash off.  Point your camera toward the brightest spot, push shutter button down half-way and don’t let go, move to compose photo and take the picture.  If the subject is not focused since you are pointing to the bright spot, you may need to switch to manual focus, focus the subject and then point your camera toward the bright spot, put half-way on the shutter, hold it there, compose image and take the photo.

If that doesn’t provide the results you are seeking,  manually adjust your settings to produce the look you want. Look at the aperture and shutter readings when you point to the brightest spot and then manually set aperture and shutter speed based on the reading.  You can use a low ISO since you are wanting a dark look.

The beauty of digital photography is that you can play around with the settings until you achieve the look you want.  So go out and enjoy the sunsets on the prairie and take some of that beauty home with you in a silhouette image.


Photo Tips & Bits… I like drama!

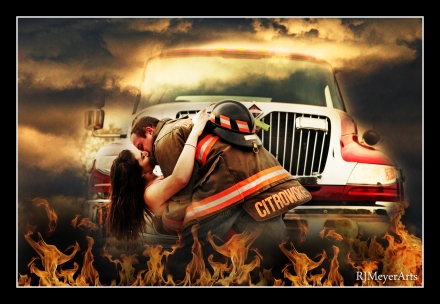
A young, hard-working couple in love.   My task is to portray their love, zest for life and community service beyond a standard “Oh, here they are kissing in front of a fire truck.  How cute.”    Cute is not what I’m searching for.  I want to portray SO much more.  I want drama!

My original thought was to use the truck headlights to add some flare, but it was too bright outside, at the time.  Scratch that idea.

Hmmm… pondered upon this dilemma a bit and searched in the clouds.  I have a folder filled with cloud images from a year or so ago.  Dragged a cloud image on top of the image to give a smoky illusion, fiddled with opacity and did some erasing on parts of the cloud layer.  Added “Hot Flash” action from Kubota and the extra punch I was searching for was there.

I just happened to stumble across some Shutterstock images of flames and the light bulb went off… add layers of flames!

Desl_Citr-0286hf_blendr2fire I do like drama… just not in my own real life!

Photo Tips & Bits: Celebrate fall with a panoramic image

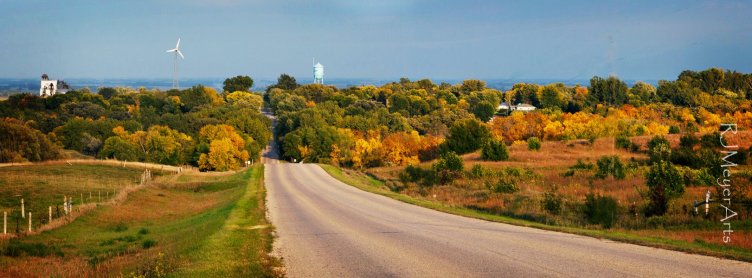
The fall colors last Friday evening were stellar as I cruised east into this small town on the border of South Dakota.  Gary, South Dakota, to be exact.  The sun seemed to kiss the landscape making the fall colors even more vibrant than ever before.

My dilemma?  Catching all of that beauty surrounding me into one image.

A panoramic photo may be the answer here.

I set the camera manually to underexposed so I could keep detail in the sky and tried to keep the camera as level as I could (a tripod would have been better but didn’t have one with, at the time.).  Took the first image to my right, moved camera to my left, overlapping about 25% and took the middle image, moved the camera to my left again while overlapping 25% and took the third image.

Now it’s time for some Photoshop magic using the photomerge feature.

I use Photoshop CS5 and so click on:

File > automate < photomerge

A new window opens so you can click browse to find your files you wish to merge.  Shift click to select all three images and they are brought into the window.  Click O.K. and watch the magic happen. The three images have now been stitched together.

I did some cropping to even up the edges and editing to keep the sky detail while brightening the image.

Fall Gary from the west timeline


Shine on, shine on harvest moon…

Harvest-Moon-Samuel-Palmer-painting-580x476

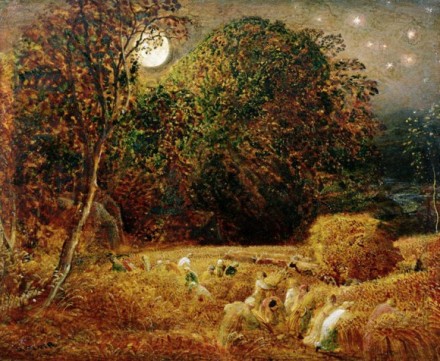
“The Harvest Moon”, a circa 1833 oil painting by Samuel Palmer. Closely spaced moon rises meant extra light to bring in the crops in the days before electric lighting.

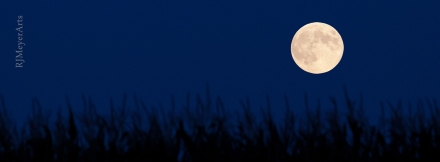
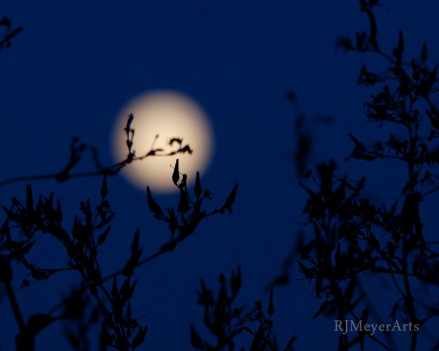
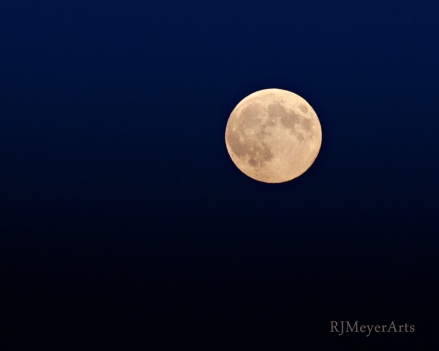
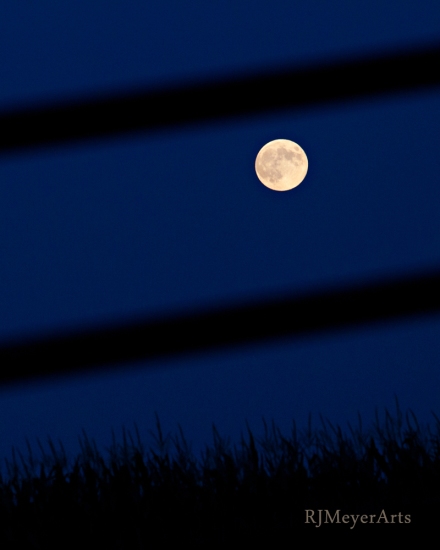
The harvest moon was apparent in the night sky with its luminance caressing the night. The next night it will rise only a half hour later.  And the next, too. The short gap of time between successive moon rises gave farmers in the days before electricity extra light to harvest their crops, hence the name.  ~ Universe Today

F 5.0 ~ 1/250 ~ 200mm zoom

F 5.0 ~ 1/250 ~ 200mm zoom

F 6.3 ~ 1/250 ~ 200mm zoom

F 6.3 ~ 1/250 ~ 200mm zoom

F 5.0 ~ 1/250 ~ 200 mm zoom

F 5.0 ~ 1/250 ~ 200 mm zoom

F 6.3 ~ 1/250 ~ 200 mm zoom

F 6.3 ~ 1/250 ~ 200 mm zoom

All images are cropped from original. Canon 5d Mark 2 with Canon 70-200 L lens.

Photo Tips & Bits ~ Blue skies smilin’ at me

Picture this… a beautiful July afternoon with blue skies beaming above. Who could not be in a great mood with a scene like this? However, to expose for the subject you will end up with washed out, blah sky and a less than stellar image. Let’s go for punch and impact! Give it all you got…
How, you ask? Off camera lighting to the rescue.

Wolls_G-7787hppop40hpcr

ISO 125 / aperture F 9 / 1/125 shutter

Above image was taken with a Canon 5D Mark 2 / 24-70 Canon L lens with camera setting listed below image.  Canon 580 II Speedlight to camera right set on manual 1/32 power.

No flash?  No problem.

Wolls_K-1635rhp40pop60hpcr_ripp

ISO 100 / F 2.8 / 1/1200 shutter

Turn subject toward sun, for a similar lighting.  Problem with the sun is that it is bright and leads to squinting eyes.  Now is the time to get artsy and do some thoughtful, thinking about my future and past type of poses.

Think beyond merely looking at the camera and smile.  After all, photography is more than just documenting a place in time… it is an art.


Photo Tips & Bits…The art of mothers-to-be

Maternity portraits… hmmm.

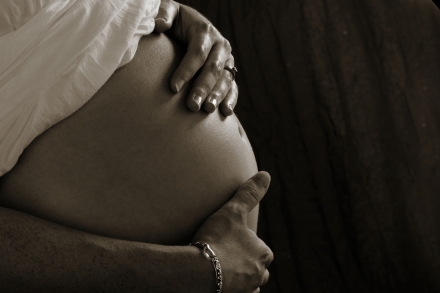
I have no issues with the human body, but respect the fact that it is such a personal issue.  It is a miracle of nature and a continuation family lineage.  The human body is an art form in itself and I feel that it should be justly portrayed as such.  It is not a time to stand, face the camera, grab your protruding tummy and say “cheese.”

Goetsch-6945rcrbg2I do like back light and dark tones to lend an aura of mystery to maternity images.  ISO F 4 at 1/160 shutter with one Alien Bee light from back right.

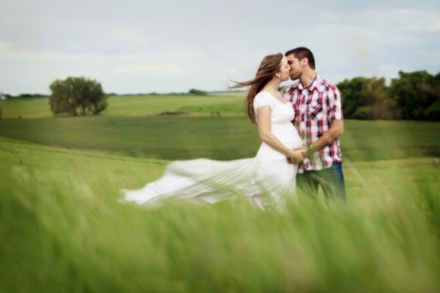
Goetsch-0613crunderpaint_daubs2The prairie grasses spring anew as the rains replenish the soil and new growth appears.  Perfect setting for a young couple with their own new life growing each day. A low angle was used to include the grasses flowing in the foreground.

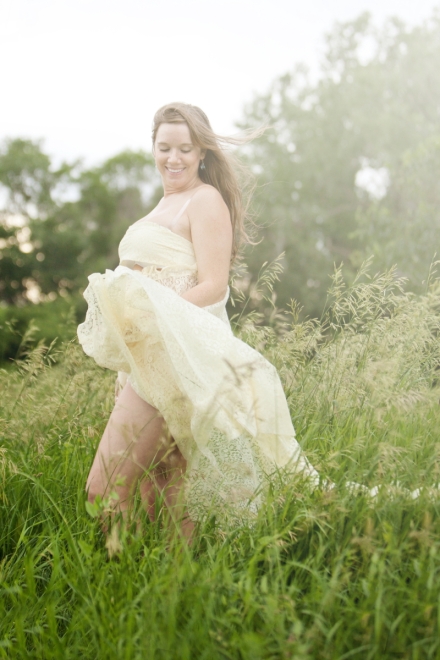
Goetsch-0687lflareww50crAccepting these changes and finding grace in form with joy abounding as she feels new life moving within.

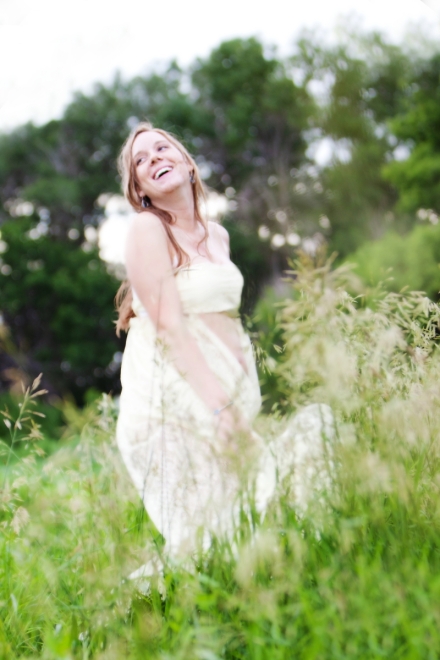
Goetsch-0703rwwcrlensflIt is a time to feel beautiful and special as the glow of motherhood gently caresses the body…

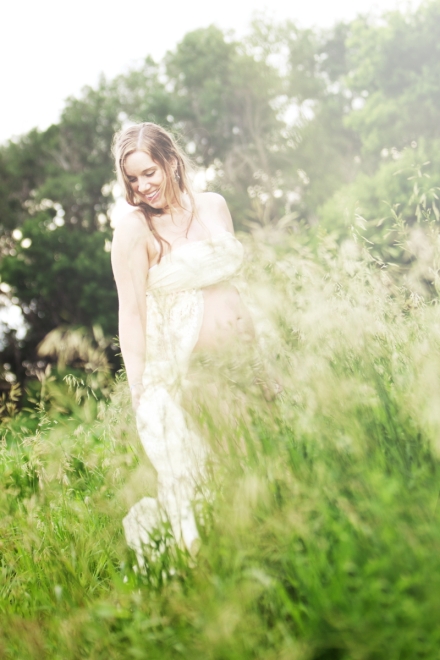
Goetsch-0706rpsoft_popcr2…and gives hope for the future.

Available light, ISO 100 / F2.8 at 1 / 1000

Outdoor attire made from old lace window curtains.  Glad I didn’t throw them away!

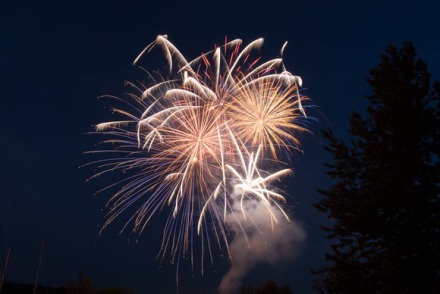
Photo Tips & Bits…Fireworks Results

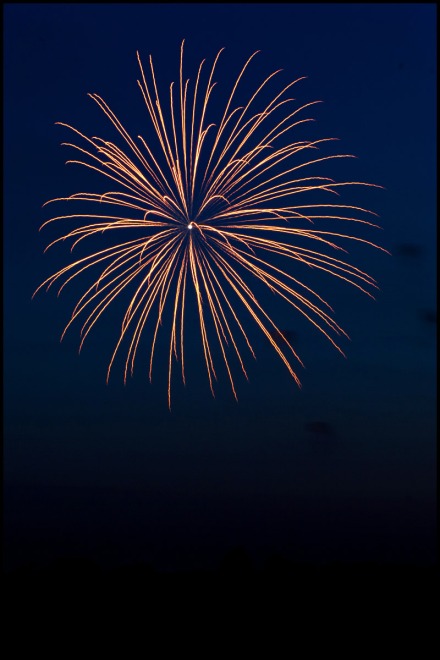
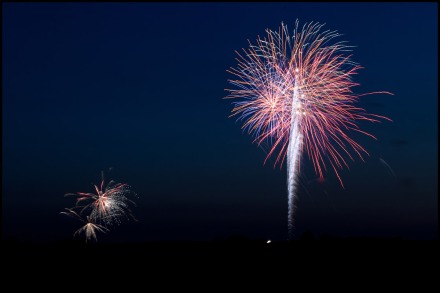
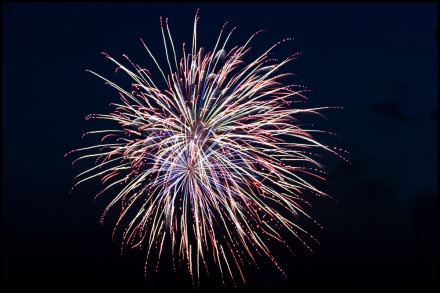
ISO 100 / F11 / bulb setting / Canon 5D Mark 2 / 70-200 L lens with Image stabilization turned off / manual focus / Tripod

Our viewing location was a gravel road about a mile away from the display action in a rural area near Gary, SD.  Since there were no other roads in between for a closer view, I opted for the 70-200 L lens to bring the action in.  The biggest challenge for me was utilizing manual focus since I don’t trust my visually impaired eyes.  Fireworks were lit in a rural area so no tall buildings or bridges to add interest to the foreground or background.  Maybe someday, right?

The results…

2014fireworks-0763cr 2014fireworks-0766 2014fireworks-0795dmv timelinefirworks

Photo Tips & Bits… Fireworks!

My traditional studio photography life has slowed down, as planned, and I am now able to tackle projects previously put on the back burner.  Fireworks – Here I come!

Research is in order for this new realm..

  • Use a solid tripod
  • I’m accustomed to using manual settings and it looks as though I will need an aperture of F 8.0 on up to F 16.
  • Manual focus will be a challenge for my almost blind eyes , but I may be able to find an object near the focal point of the action and go with that.  The beauty of digital is that I can adjust after checking the display. I can also use the infinity setting on my focus ring.
  • Shut off the image stabilizer on my lens.  I would never have thought of that one.
  • Use the bulb setting and start exposure at the boom and hold down until current fireworks display has completed. (I don’t have a cable release so I’ll have to be steady.)
  • Tweak settings as necessary

For those of you with a point and shoot camera, check out the following link for tips:

http://www.techhive.com/article/2043474/how-to-shoot-great-fireworks-photos-with-any-camera.html

…and don’t forget the bug spray!

fireworks1-100044852-large


Other tips came from the following links:

http://www.learn.usa.canon.com/resources/articles/2011/qt_tips_photograph_fireworks_article.shtml

http://www.kenrockwell.com/tech/fireworks.htm

http://www.the-digital-picture.com/Photography-Tips/Fireworks.aspx